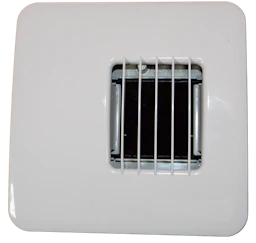
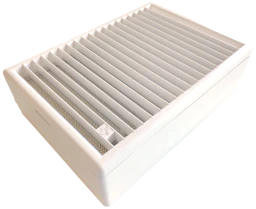
EHV
Armatur
EHV is especially suitable for extraction in bathrooms and environments that require increased airflow when there are high humidity levels in the room.

EHV is especially suitable for extraction in bathrooms and environments that require increased airflow when there are high humidity levels in the room.
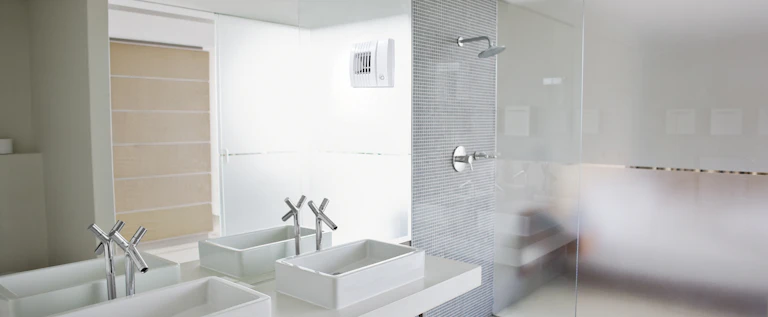
The EHV valve is mounted on the duct (vertically in the wall, horizontally in the ceiling or in a sloping wall). The valve can be mounted using a metal firestop plate (FPP) if needed. FPP also acts as fire protection for duct systems in accordance with DS428 (Fire-technical measures for ventilation units).
Register the pressure by fitting a manometer as shown on the illustration.
Look up the initial adjustment diagram in guidance 3004062 (link at right).
Use the registered value to locate the pressure and airflow in relation to the fixed damper position (0-5).
EHV is registered in the database for construction products that can be used in Nordic Swan Ecolabelled construction.
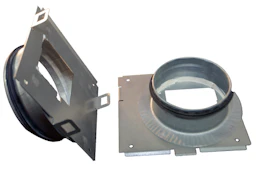
Mount the EHV valve to the wall or ceiling duct with a metal fire protection panel (FPP) which simultaneously protects the duct system in accordance with DS428 (Technical measures for fire protection of ventilation systems).
| Variants | Insulation material |
|---|---|
| EHV humidity-controlled extraction fitting |

Setting basic airflow
The fixed damper can be set to six different positions:
To change the required airflow
To adjust to the available pressure
The damper is set manually and locked using the supplied locking-pin in order to avoid the damper setting being changed by accident, e.g. during cleaning.
The damper is factory-set to position 0, which is min. airflow.
Moving the damper position down allows a higher airflow.
Each separate step increases airflow by 10 m3/h (maximum = 50 m3/h)

Panel for fitting to another type of duct opening:
Rectangular 67 x 75 mm up to 75 x 67 mm
Round from Ø88 up to Ø100

Panel includes spigot with rubber seal for airtight fitting in a Ø100 mm duct.
Panel includes spigot with rubber seal for airtight fitting in a Ø125 mm duct.

Balancing the valve in relation to desired airflow step 1:
Remove the white locking pin
Use it to fix the "humidity-sensitive airflow" in the minimum position (see illustration).
Tip: Use your fingers to push the humidity-sensitive bar in order to close the motor-driven damper.
Balancing the valve in relation to desired airflow step 2:
Register the pressure by fitting a manometer as shown on the illustration.
Look up the initial adjustment diagram in guidance 3004058 (link on right).
Use the registered value to locate the pressure and airflow in relation to the fixed damper position (0-5).